|
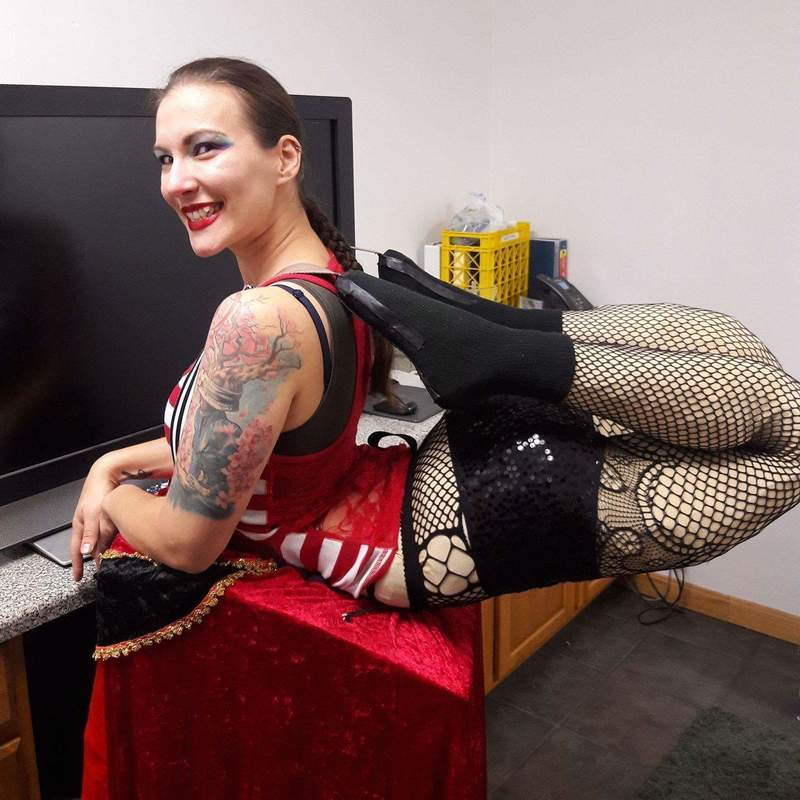
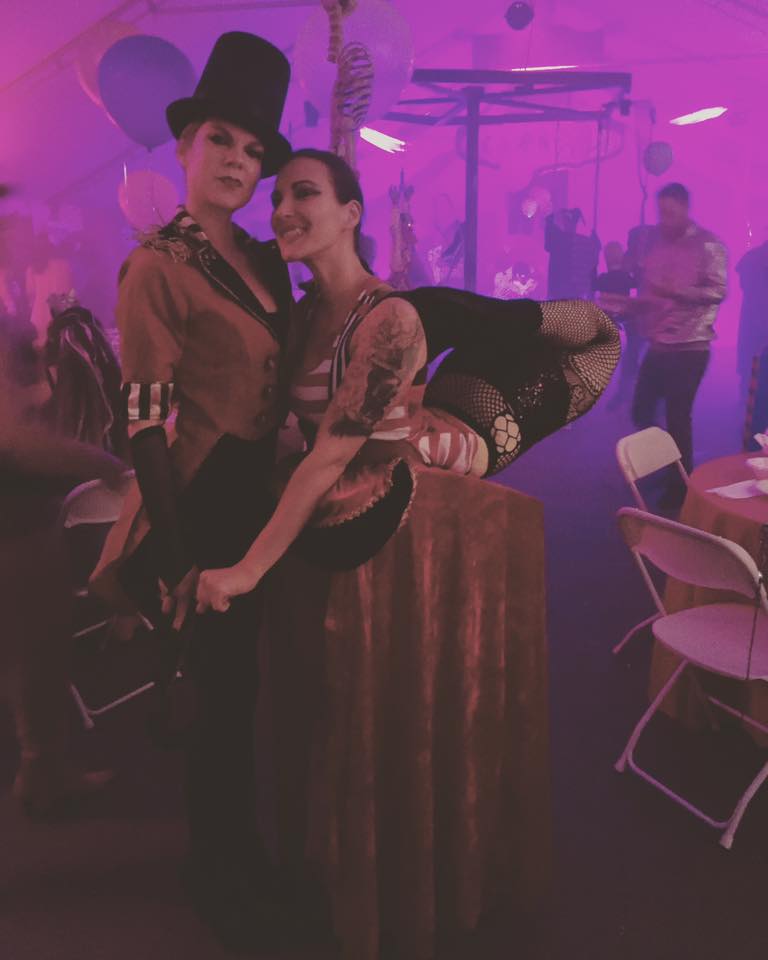
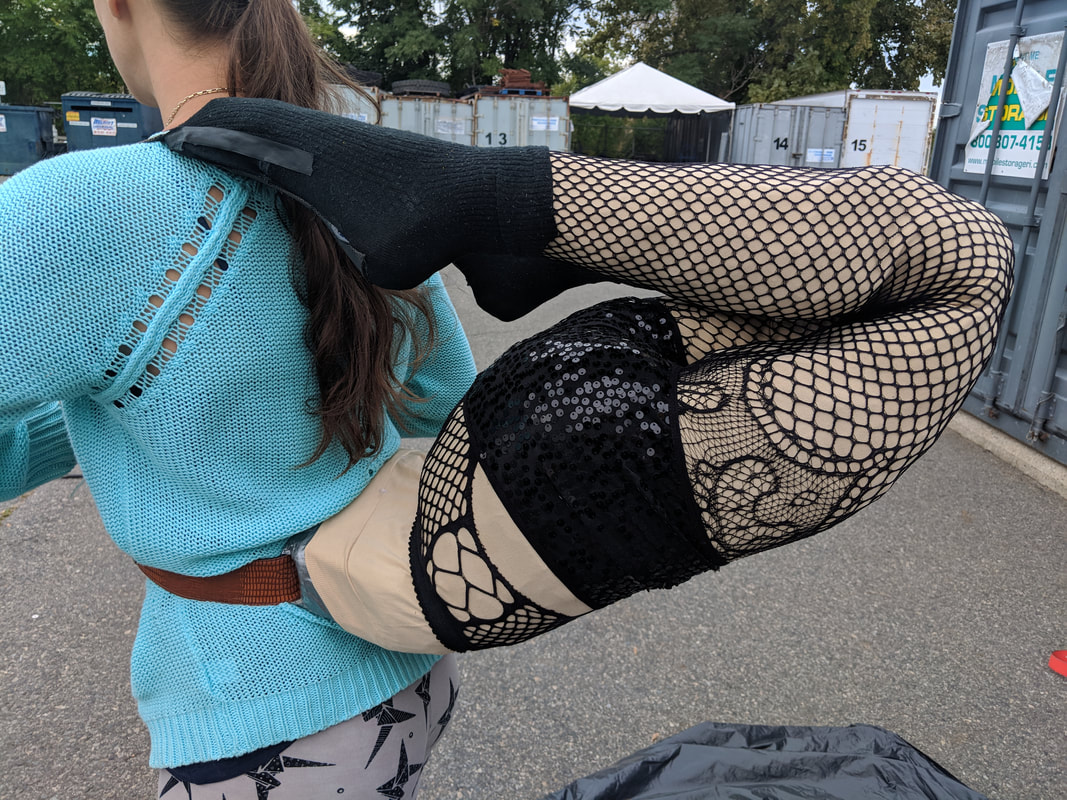
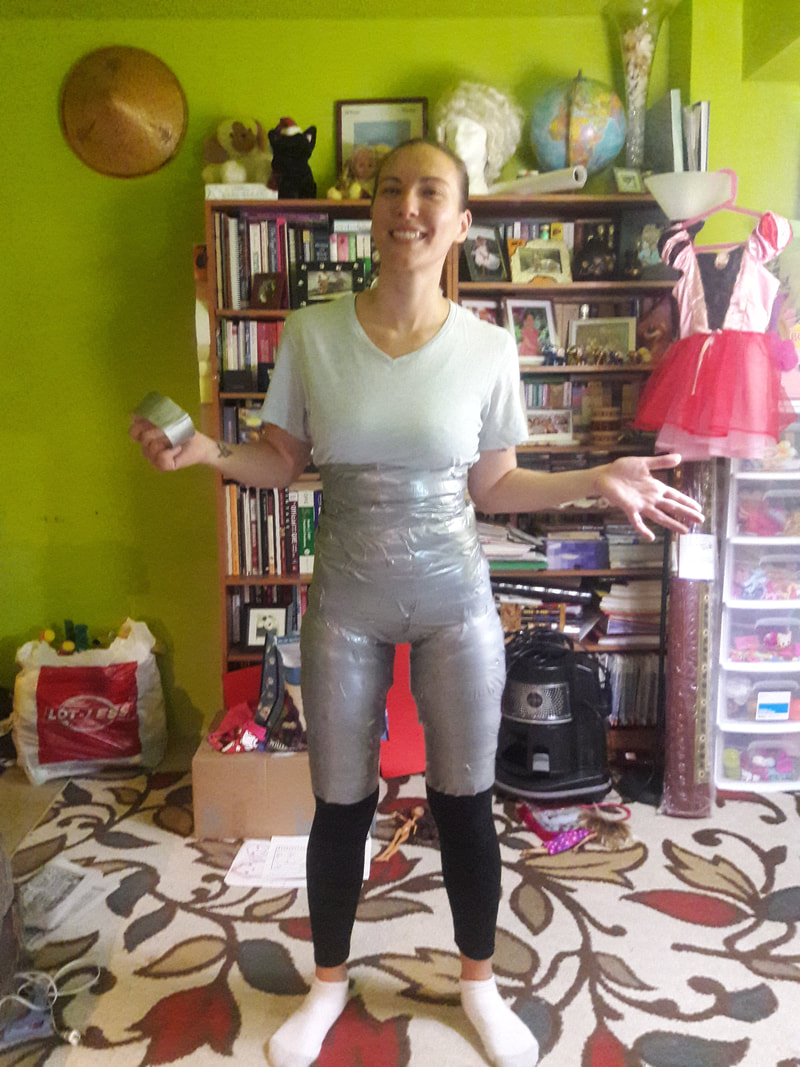
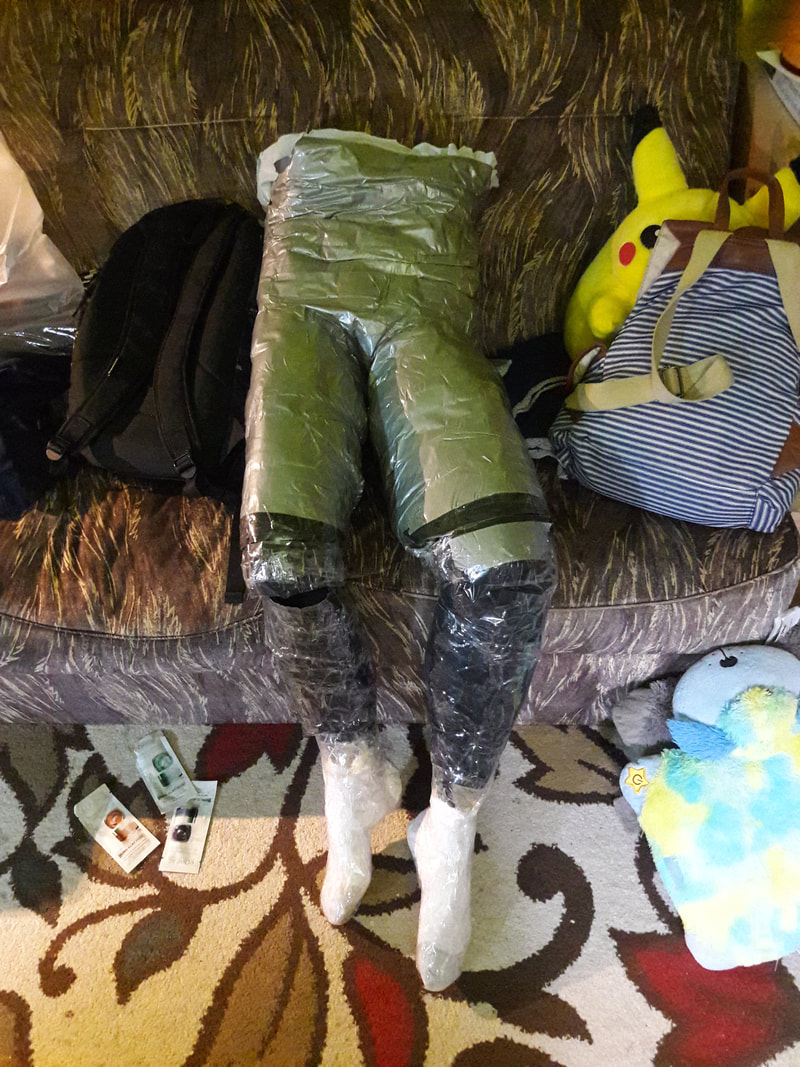
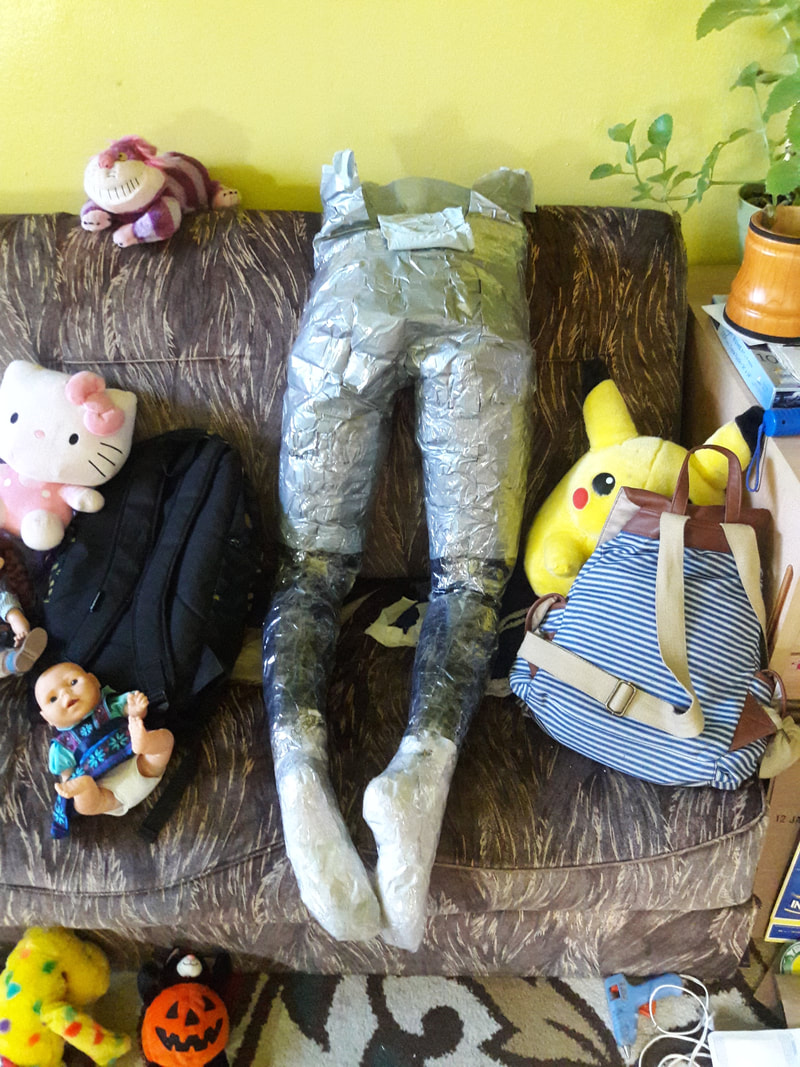
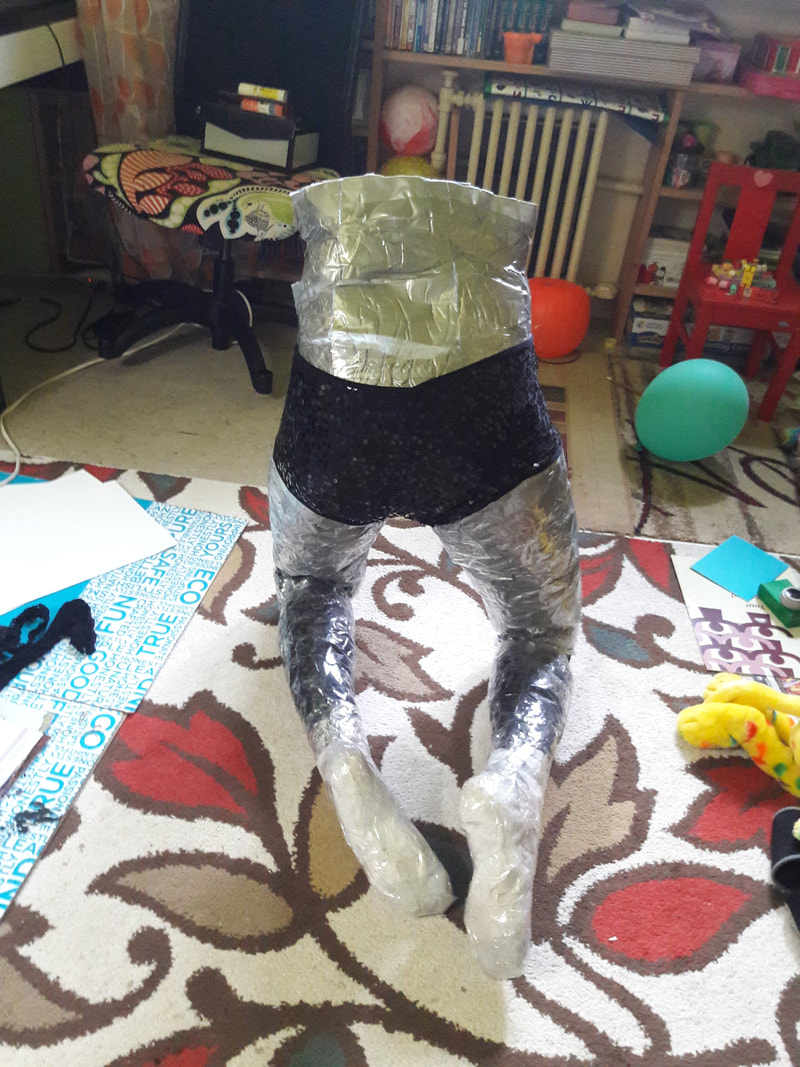
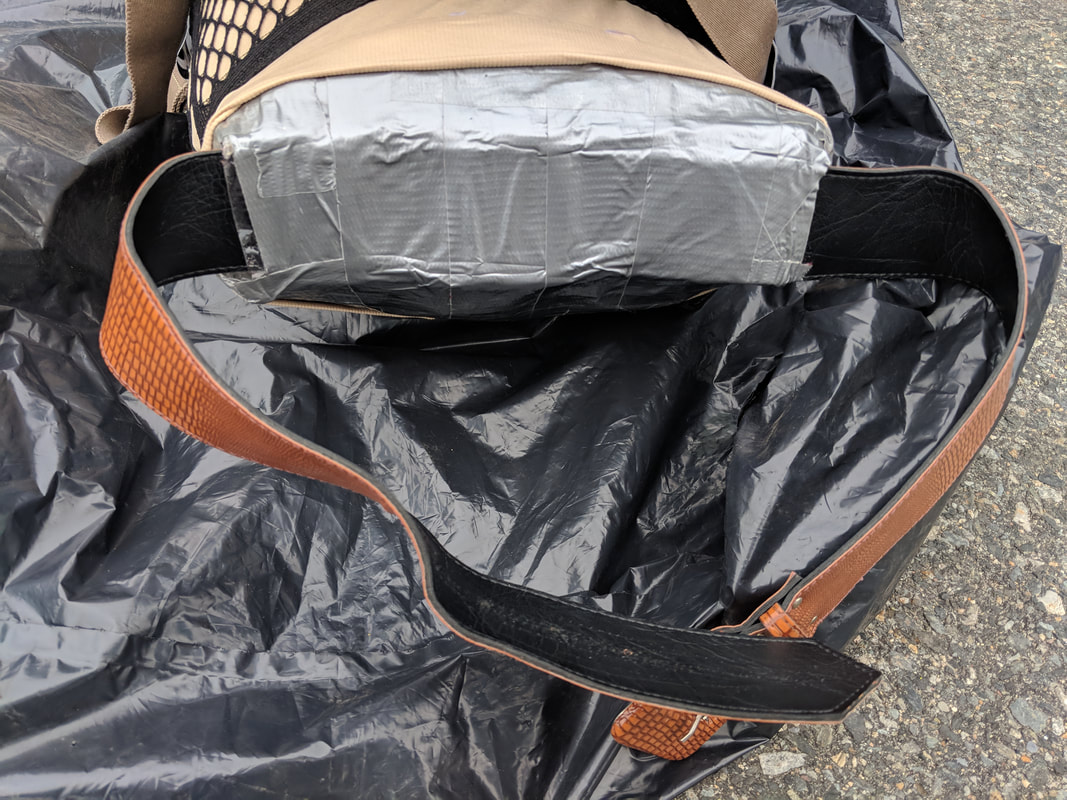
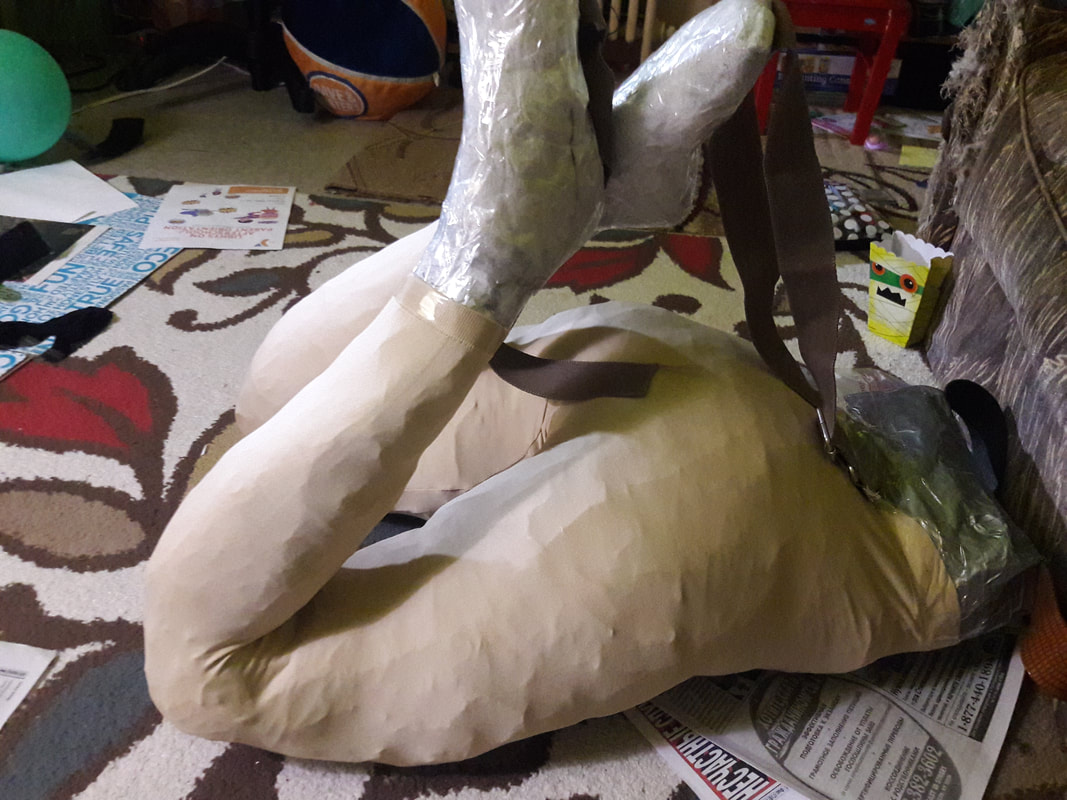
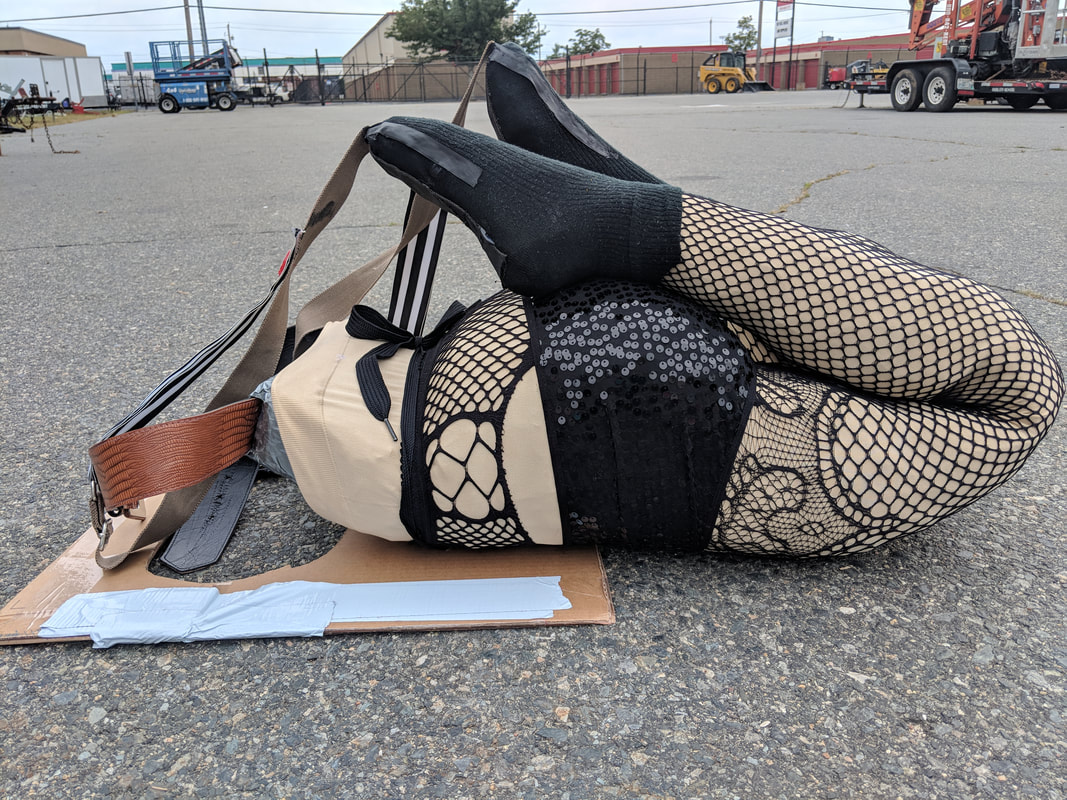
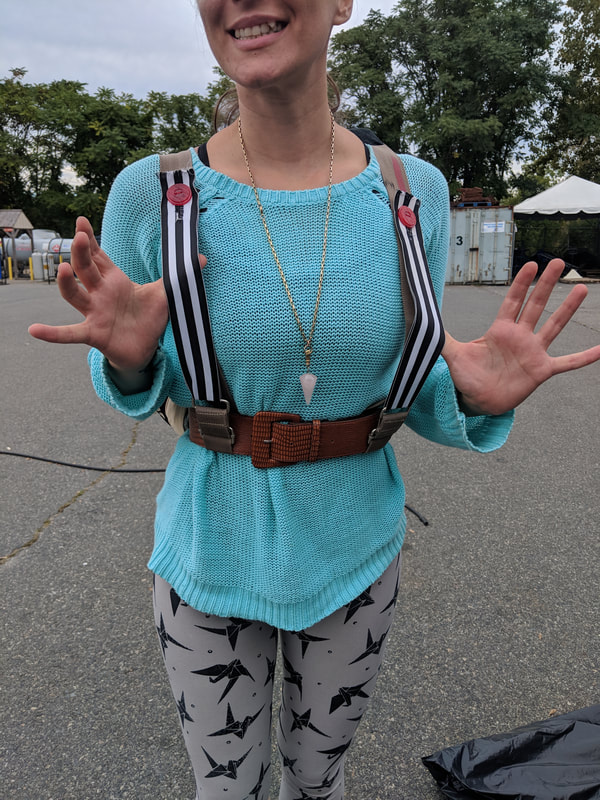
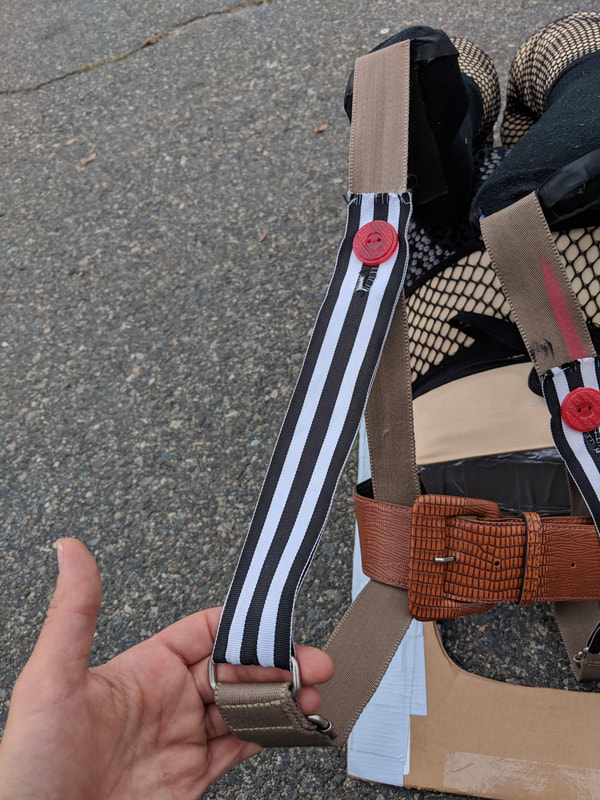
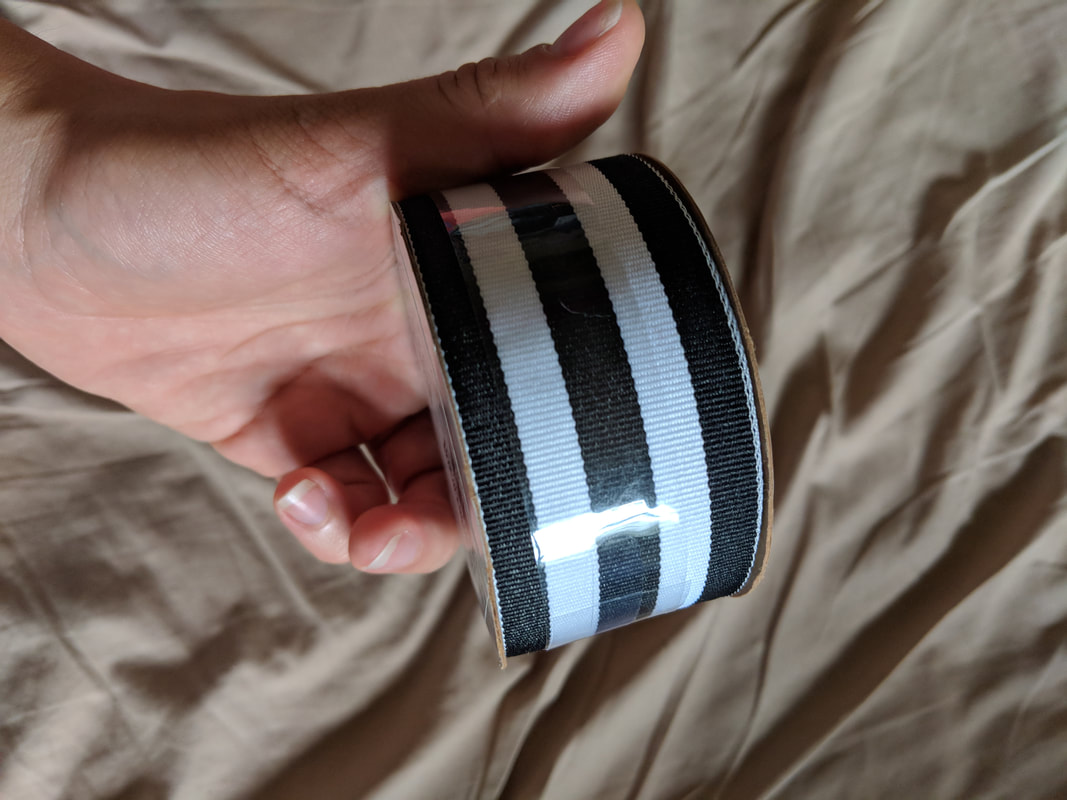
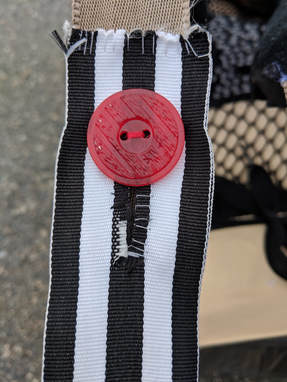
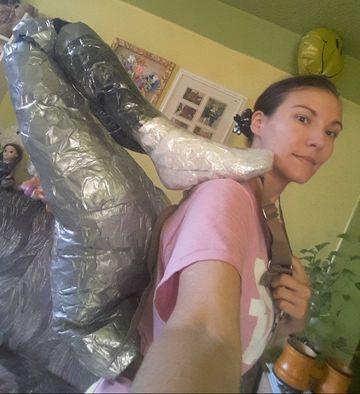
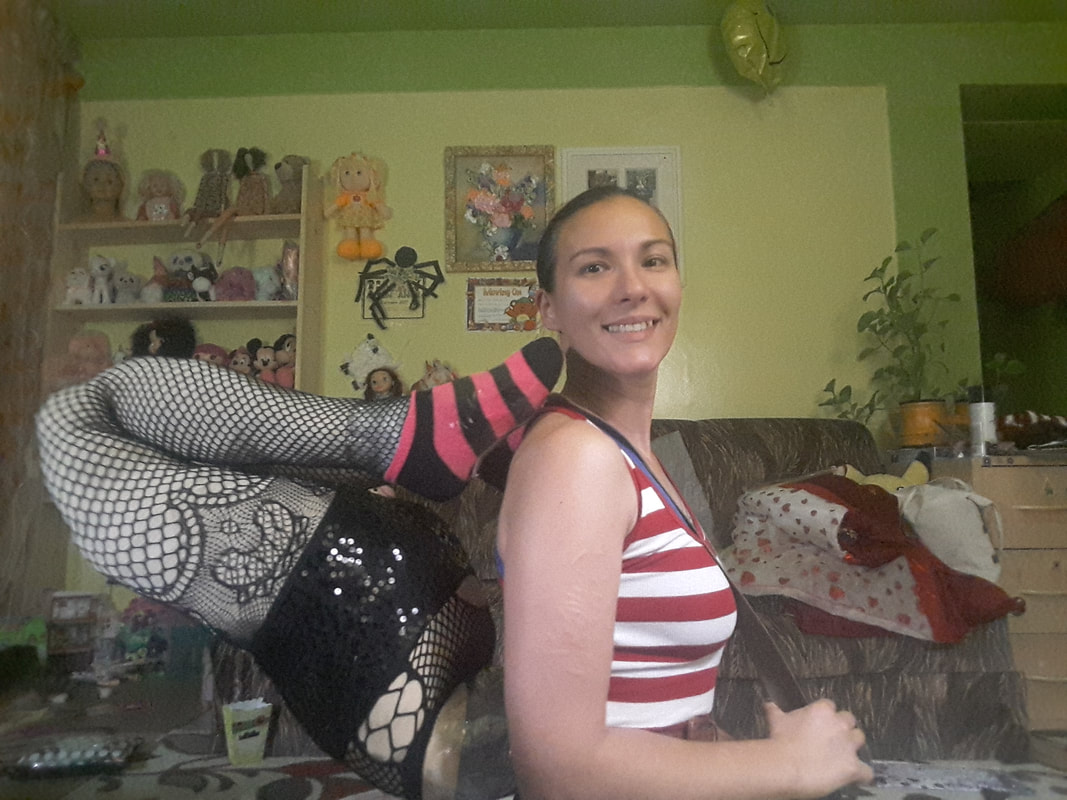
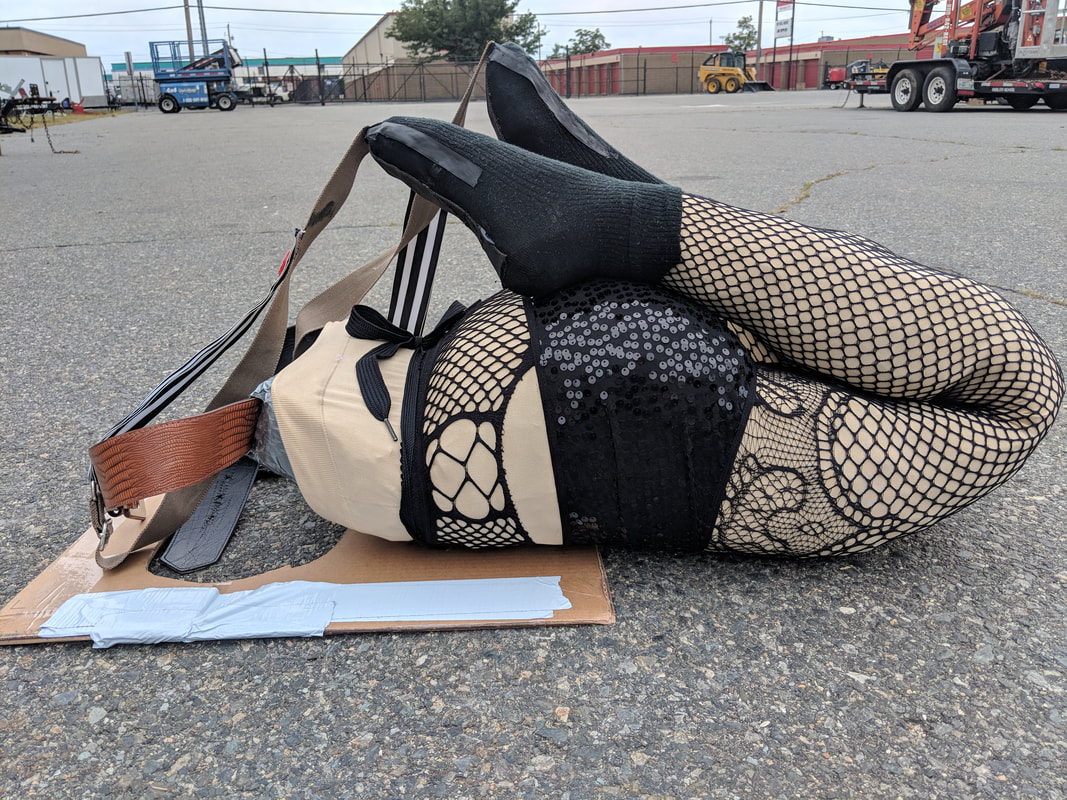
10/1/2018 2 Comments Diy Contortionist CostumeThis was the most fun (and possibly the most effort consuming) costume I have ever made and worn! It looked so realistic that people all over social media kept commenting on how "flexible" I am and how much of an "inspiration" I was to them HA! And those in real life had to turn their heads a couple times to see if I was really just hanging out there on a random little table bent in half. It was such hilarious fun! I will now break this costume down for you piece by piece, so you too can attend (or host) your own carnival themed party. There are 3 parts to this costume: the legs (hardest and most time consuming), the table and table cover (medium difficulty), t-shirt (easiest). You will make each of these parts, and then assemble them on to your body the day of the party. To make this costume realistic I made an actual mold of my own legs. I later ended up cutting off about 4 inches from each thigh, just because they were SO big and very heavy. To make the costume, you will need: 1. Duct tape, and LOTS of it. I used a little over 3 large rolls. 2. A pair of thick stockings you do not mind parting with. 3. Stuffing material. 4. A sturdy belt. 5. Stocking to wear on top of the legs (preferably fishnets or some sort of textured design) 6. Shorts. 7. 2 large buttons. 8. Some sort of wide and sturdy ribbon. 9. A shirt or tank top to match your outfit. 10. Some cardboard. 11. A table cloth or a long skirt to dress the table. ***All of these items can be purchased at target, and for the stuffing, I used my daughter's old homework that I just crumpled up and stuffing from a whole bunch of her stuffed toys (with her permission of course!). I found that "Build A Bear" stuffing works best, but it is too expensive and you will need A LOT of it. (so I stuck with the old homework for the most part haha!) Part 1 - Making The Legs
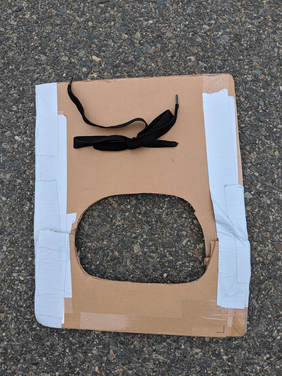
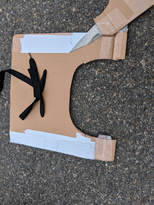
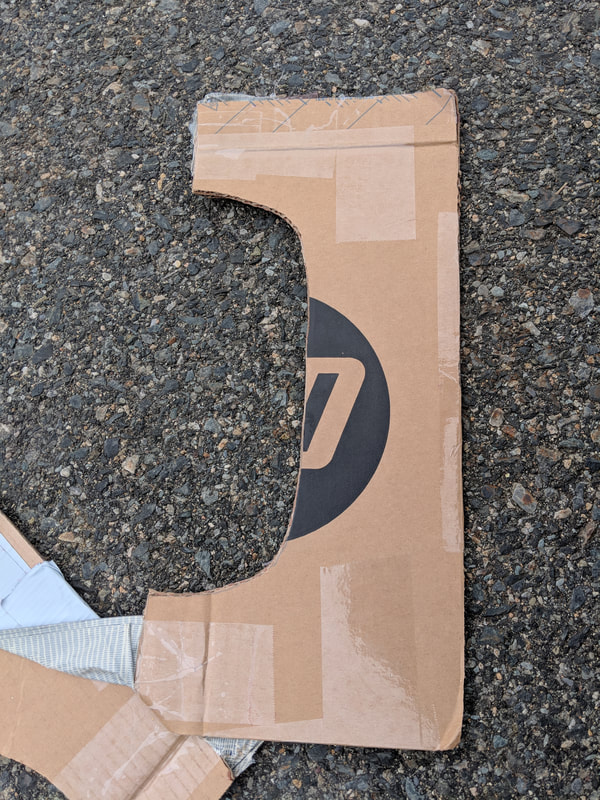
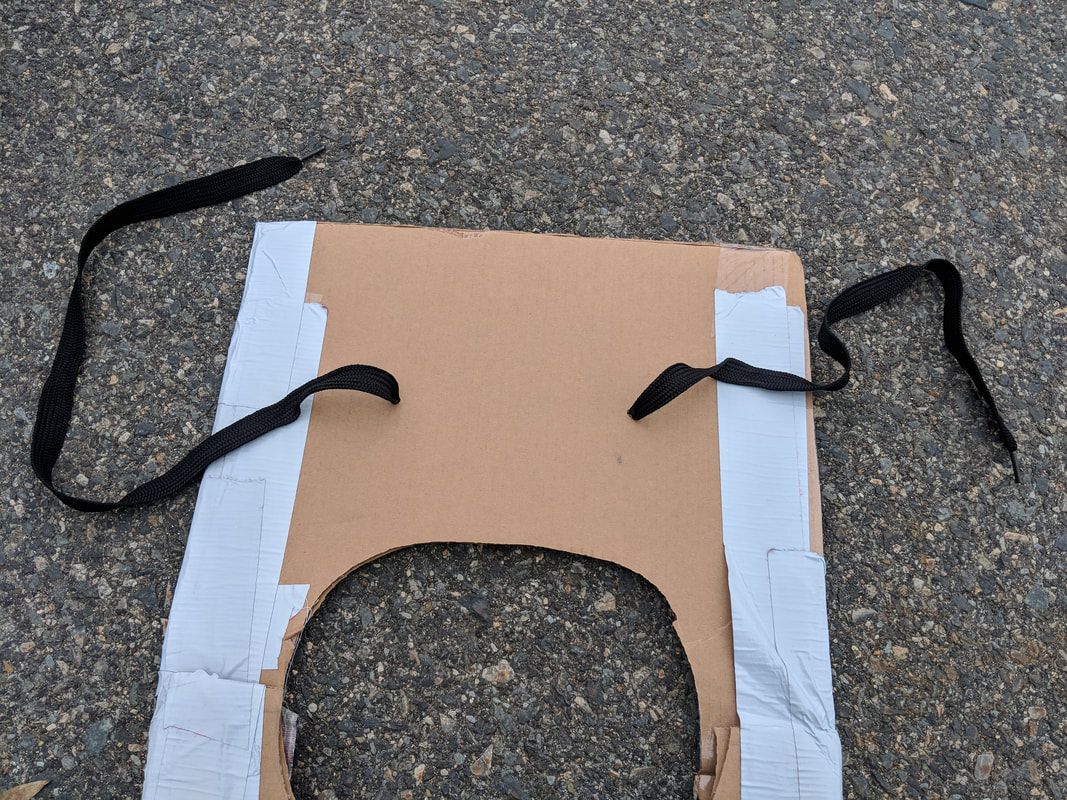
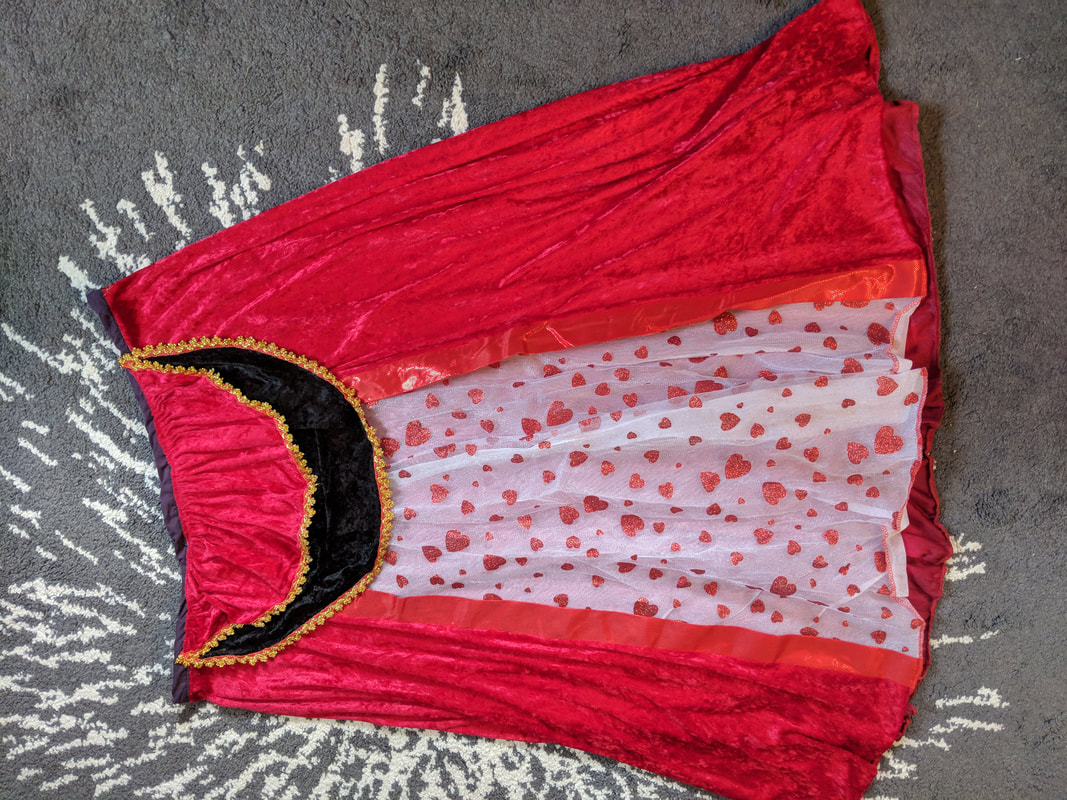
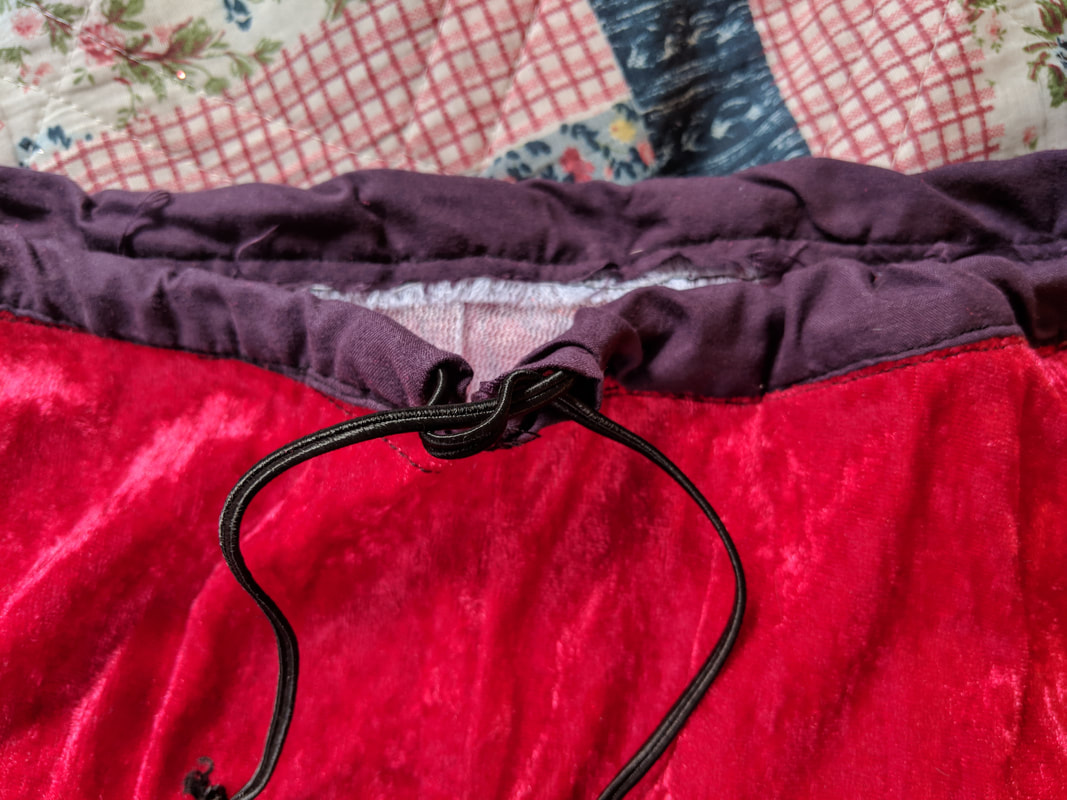
*** The original mold of my legs was too large for the costume and too heavy to carry around all night. I cut off 4 inches from each thigh of the original duct tape mold and sealed them back up. This allowed the feet to touch my shoulders as opposed to going above my head, and the legs looked a lot more comfortable. Part 2 - Making the Shirt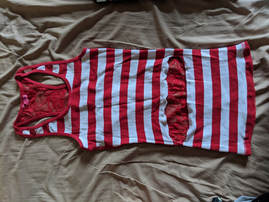 The shirt is the easiest component to make. Step 1: choose a shirt to match your outfit. I picked this striped red and white tank top to match the circus theme of the party I was attending. Step 2: cut a horizontal slit in front of the shirt, across the stomach. ***When putting the shirt on, you will step your legs through the cut you made and the back flap will be worn on the "lower back" part of the legs you made. This will make the costume appear as if it is continuous with you body. Optional Step 3: I hemmed the 2 parts of the cut to avoid the shirt stretching during the evening. To do this, fold about a 1/2 inch of the edges, pin down and sew across. Part 3: Making the Table & TableclothLastly, you will make the table and something to cover your legs. You can go for a round table or a square one like I did. You will make the table in 2 pieces, using cardboard or sturdy foam. When you are ready to wear the costume, you will assemble it directly on yourself using more duct tape.
I hope this tutorial helped and inspired you to make your own fabulous contortionist costume! If you have any questions or comments, or something is unclear, definitely let me know in the comment section below.
Happy Halloween everyone!
2 Comments
Kiki
10/21/2018 06:17:48 am
Wow! This costume idea is sooo amazing and very different from all I’ve ive seen. Thanks for sharing!
Reply
Kathy
10/23/2018 03:50:44 pm
This really was the best homemade costume I have ever seen!
Reply
Leave a Reply. |
AuthorAnna Alexandra Lerer. Archives
February 2020
Categories |

 RSS Feed
