Wellness With Anna | My Journey To Health, Fitness, And Happiness
  • Home
  • Blog
  • Yoga Everywhere
  • Home
  • Blog
  • Yoga Everywhere
Search by typing & pressing enter

YOUR CART

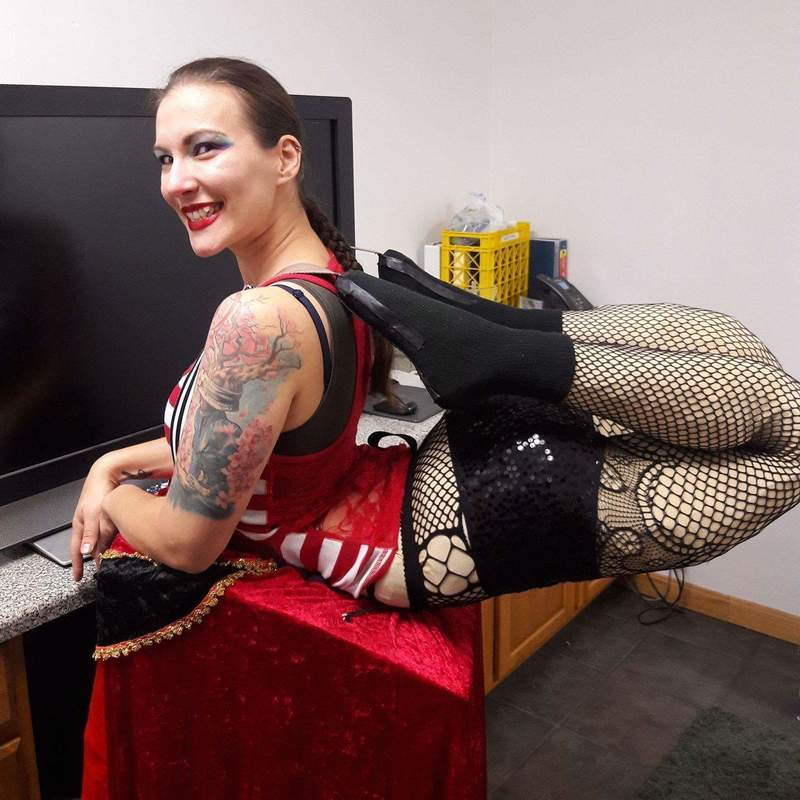
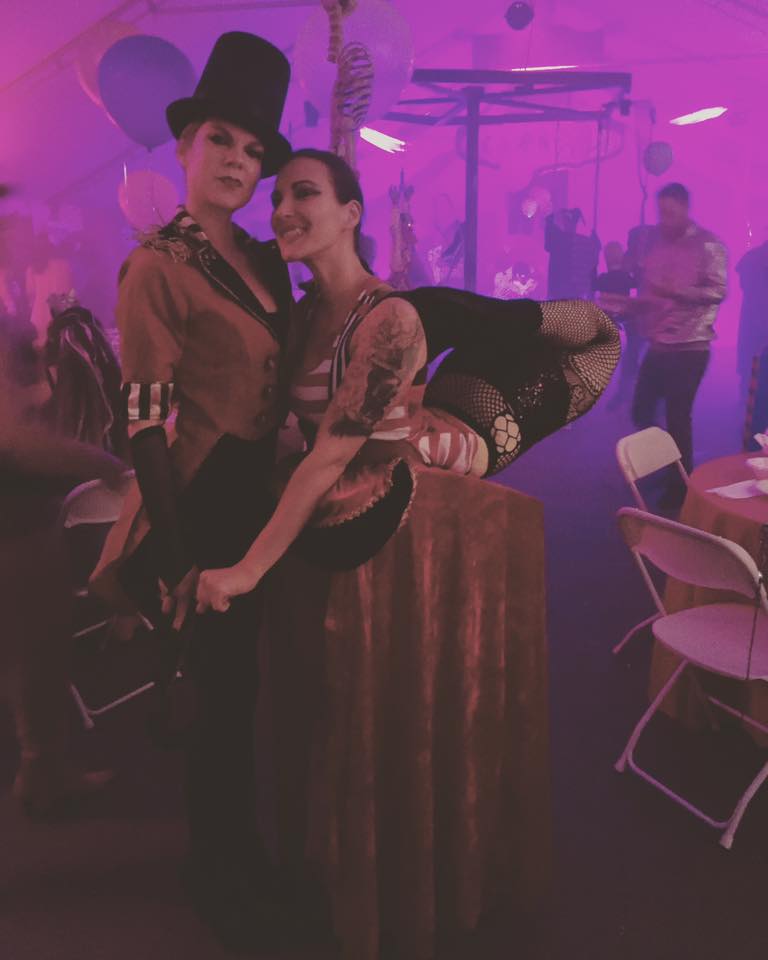
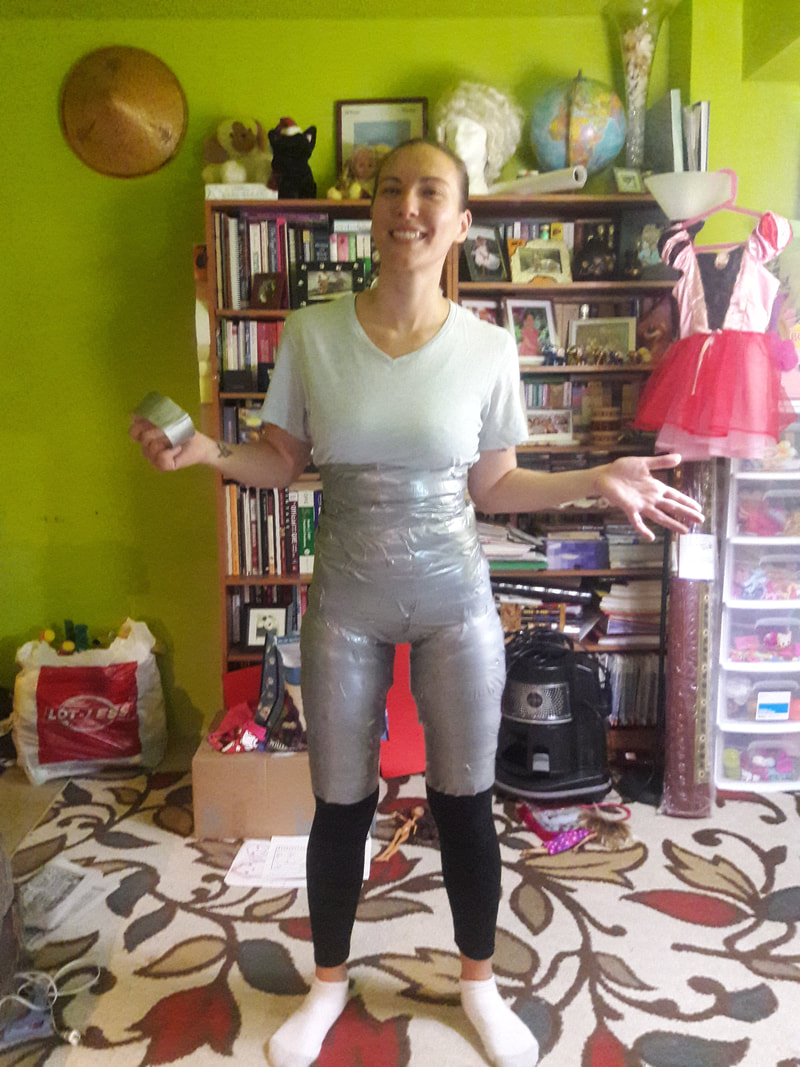
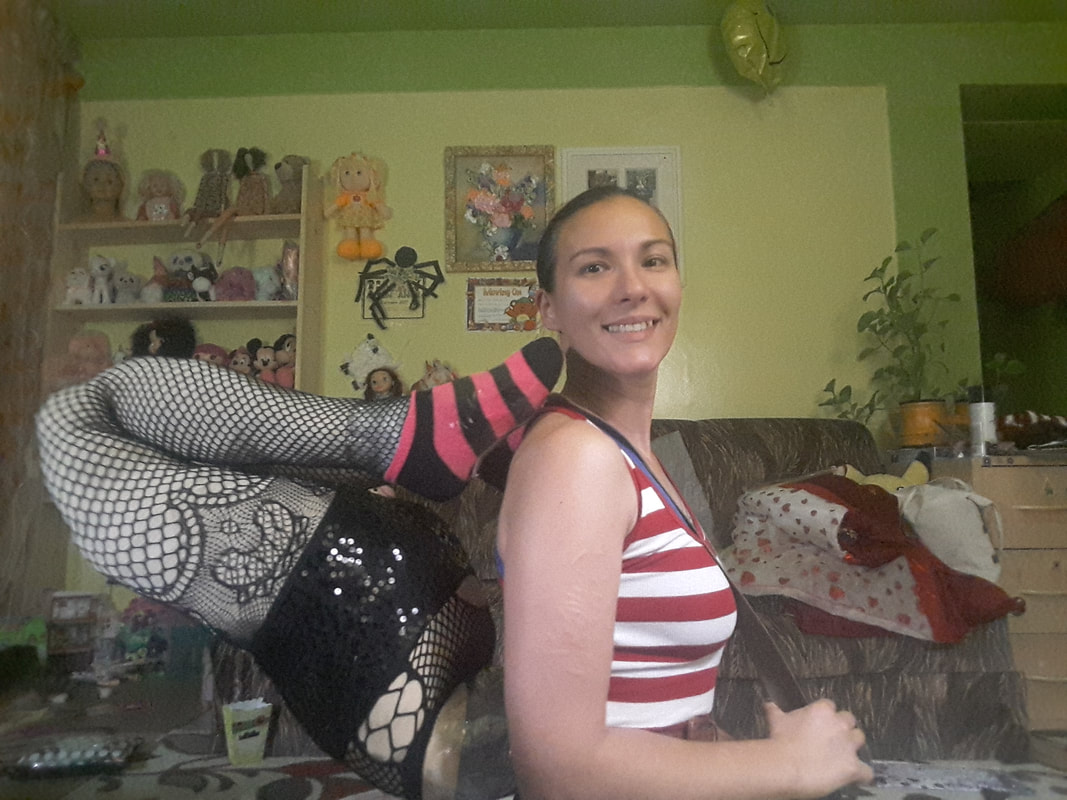
10/1/2018 2 Comments

Diy Contortionist Costume

This was the most fun (and possibly the most effort consuming) costume I have ever made and worn! It looked so realistic that people all over social media kept commenting on how "flexible" I am and how much of an "inspiration" I was to them HA! And those in real life had to turn their heads a couple times to see if I was really just hanging out there on a random little table bent in half. It was such hilarious fun! I will now break this costume down for you piece by piece, so you too can attend (or host) your own carnival themed party.
Picture
Picture
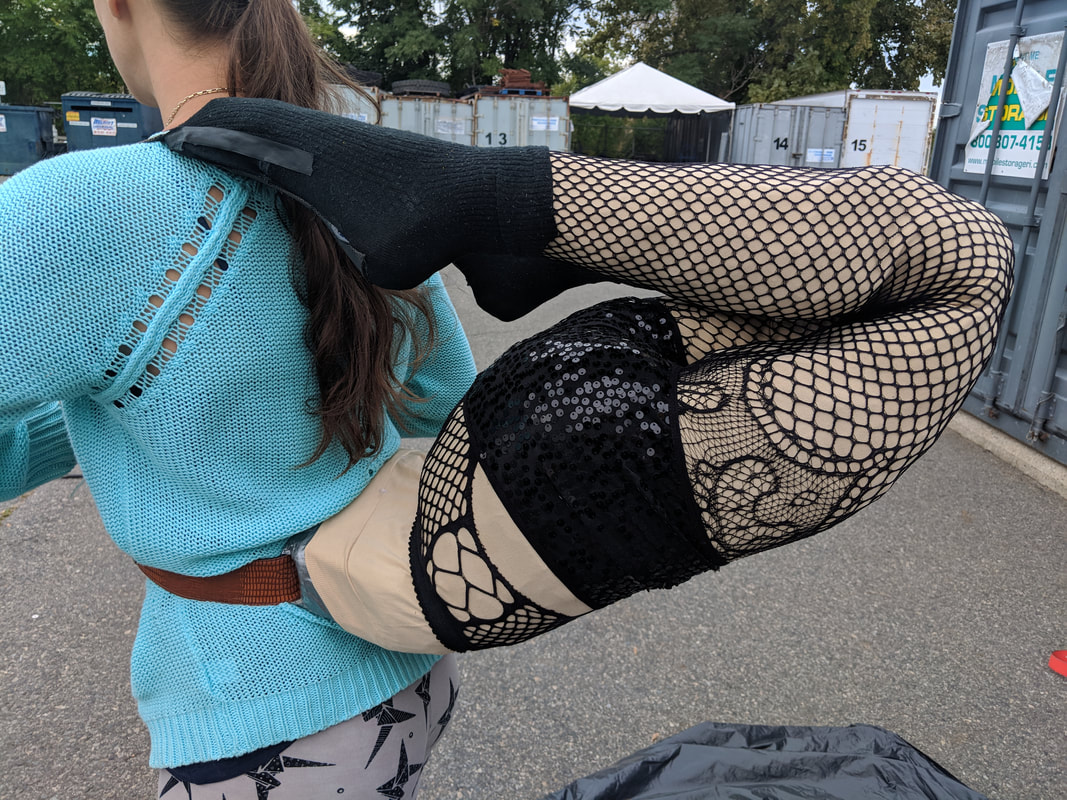
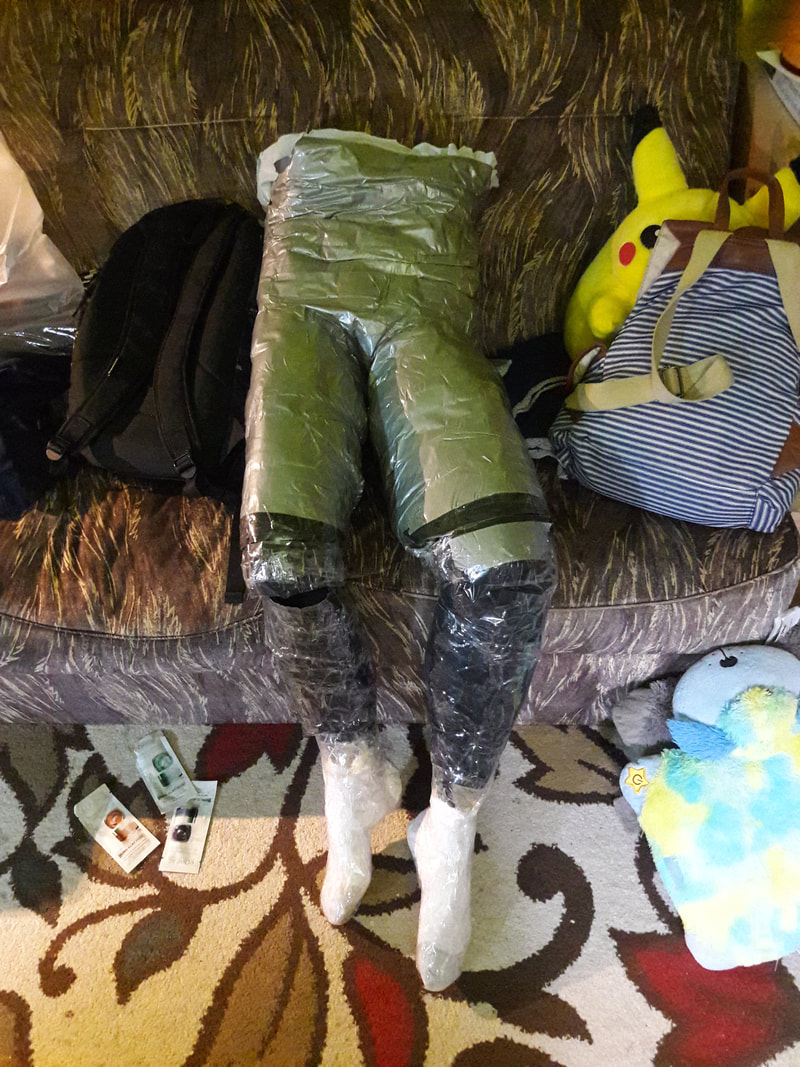
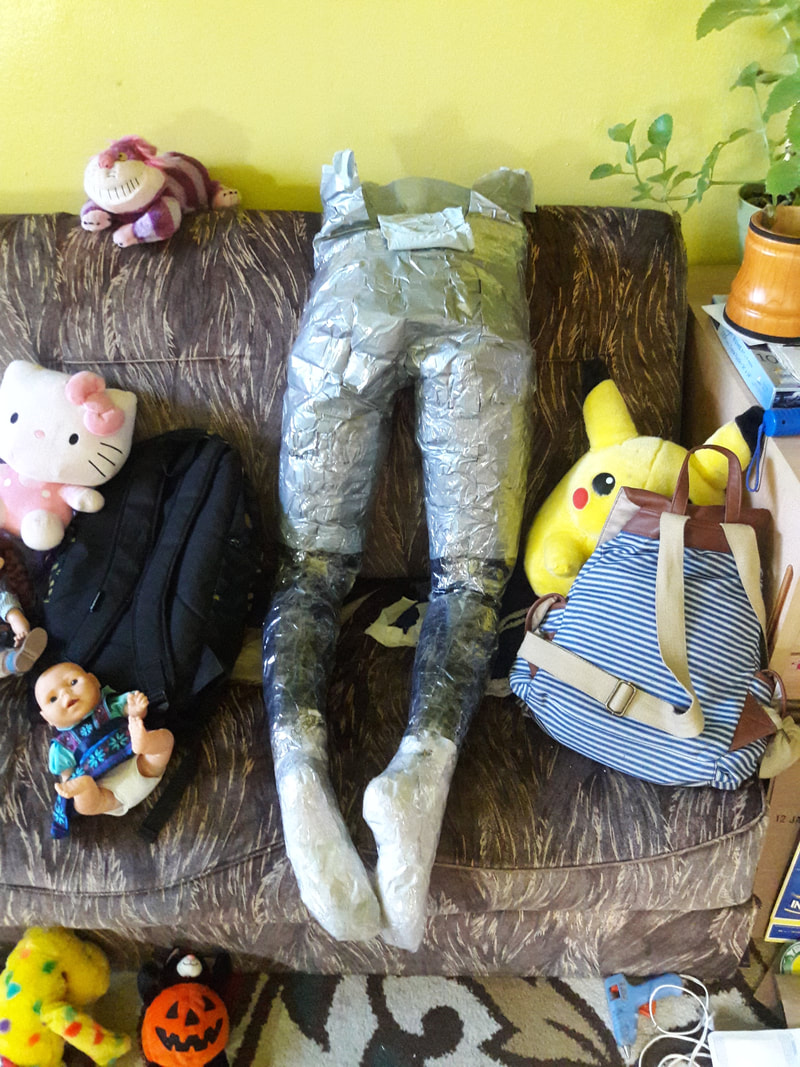
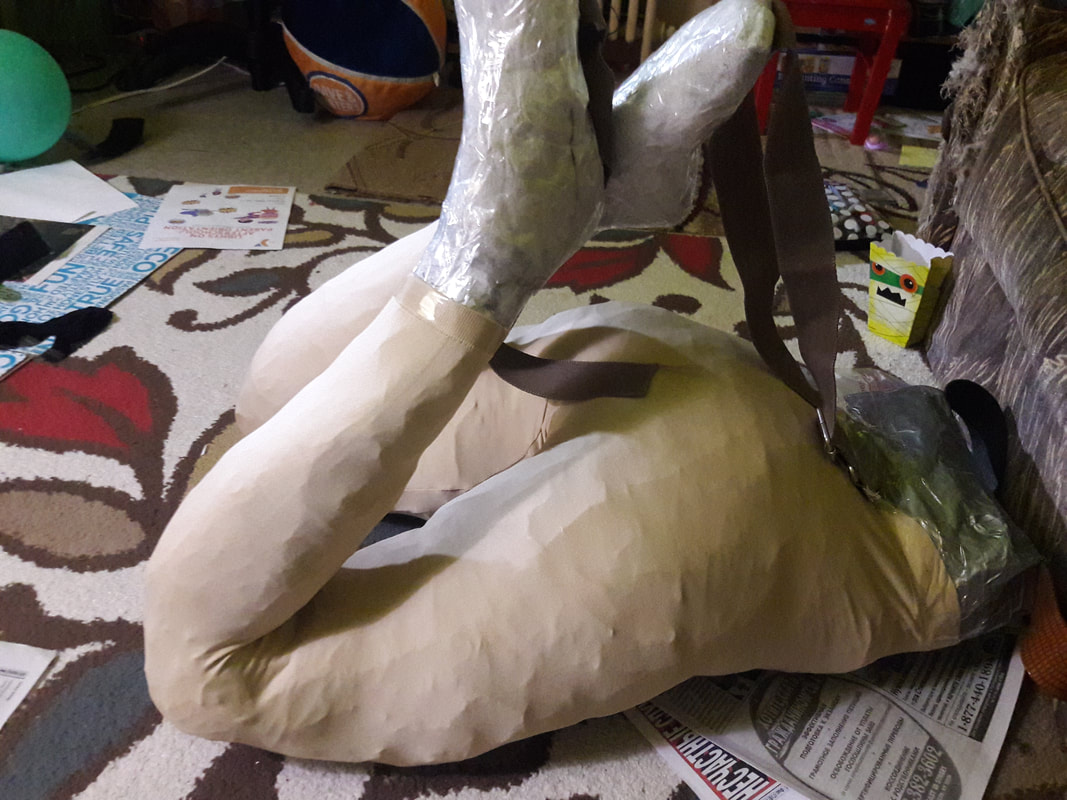
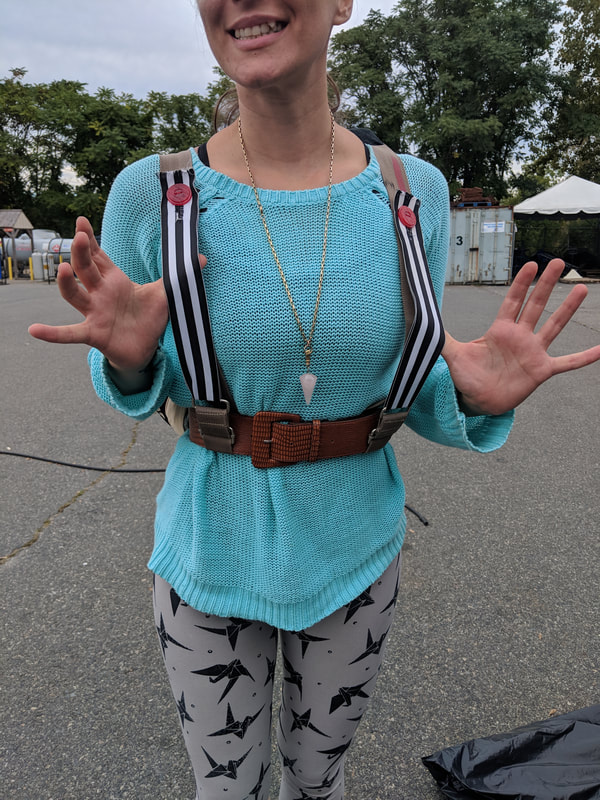
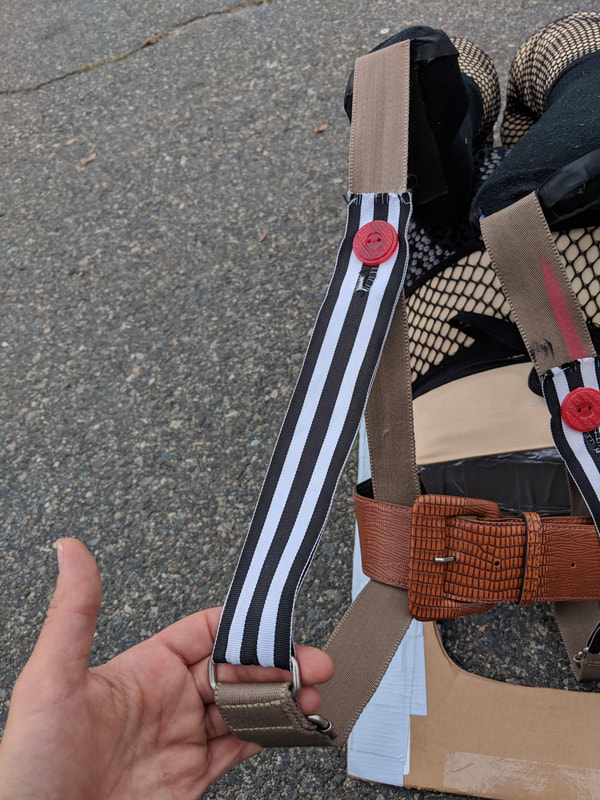
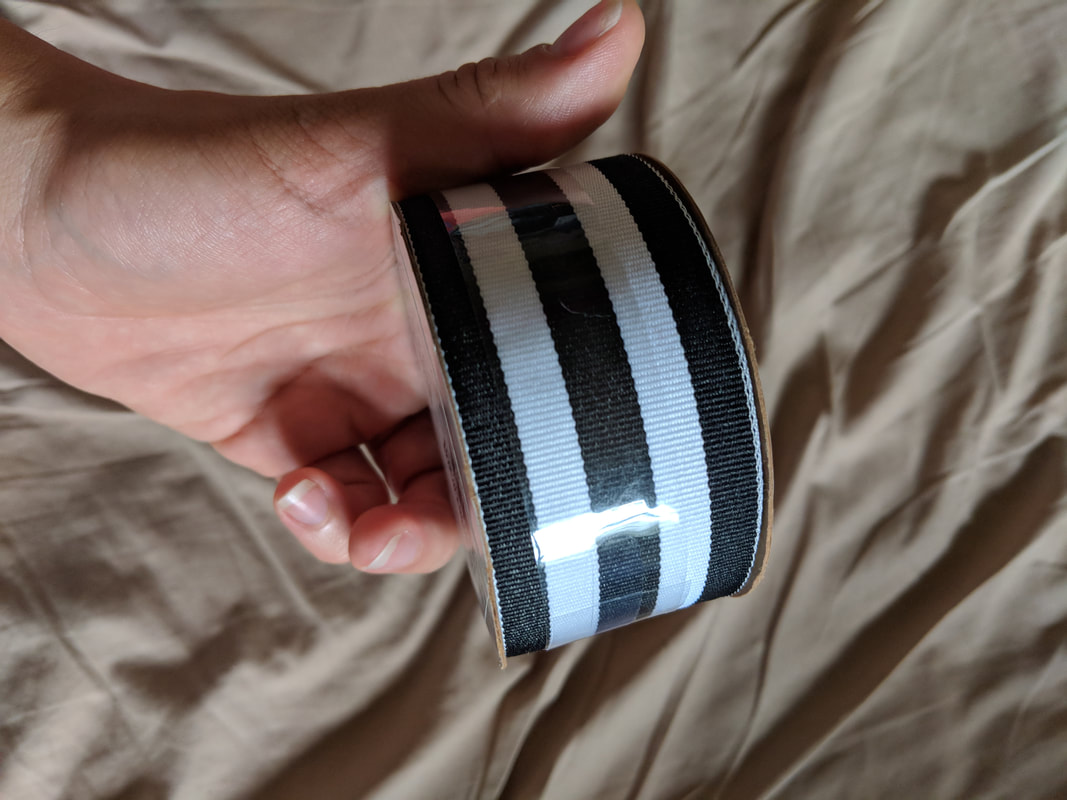
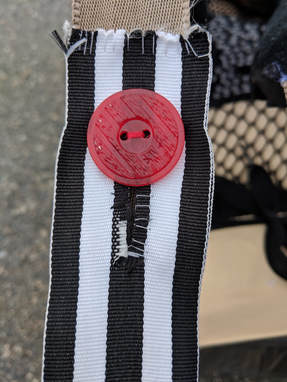
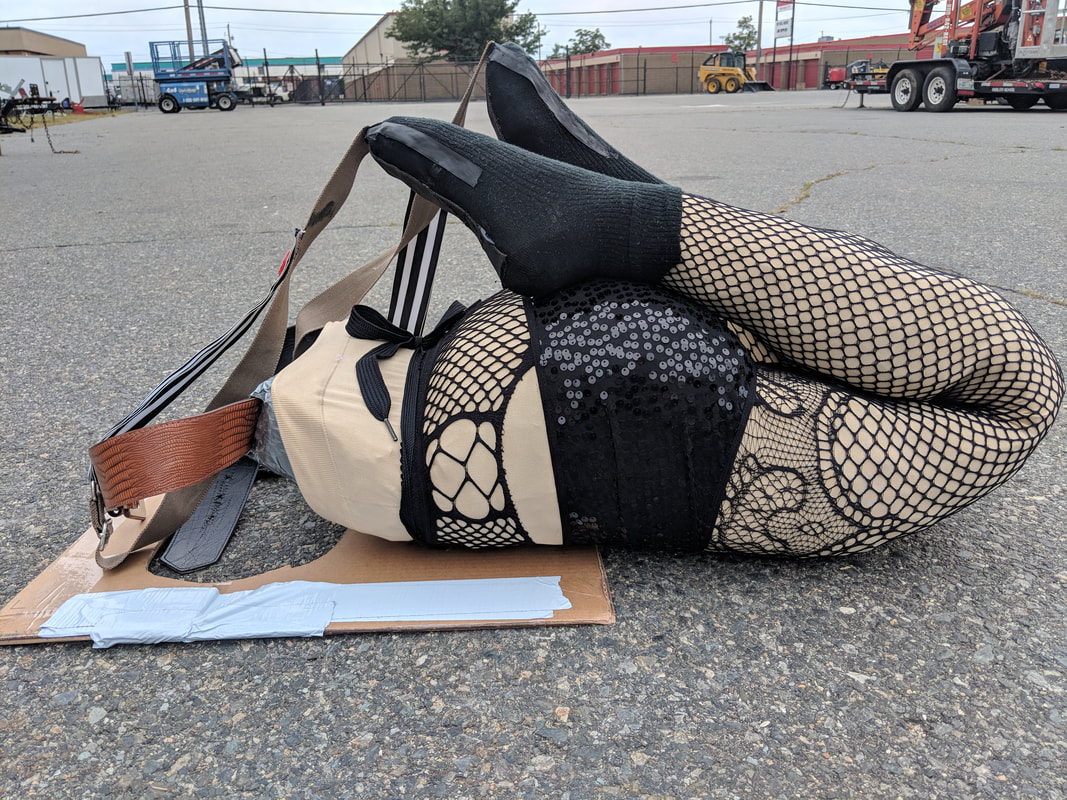
There are 3 parts to this costume: the legs (hardest and most time consuming), the table and table cover (medium difficulty), t-shirt (easiest).
You will make each of these parts, and then assemble them on to your body the day of the party.
To make this costume realistic I made an actual mold of my own legs. I later ended up cutting off about 4 inches from each thigh, just because they were SO big and very heavy.

​To make the costume, you will need:
1. Duct tape, and LOTS of it. I used a little over 3 large rolls.
2. A pair of thick stockings you do not mind parting with.
3. Stuffing material. 
4. A sturdy belt.
5. Stocking to wear on top of the legs (preferably fishnets or some sort of textured design)
6. Shorts. 
7. 2 large buttons.
8. Some sort of wide and sturdy ribbon. 
9. A shirt or tank top to match your outfit.
10. Some cardboard.
11. A table cloth or a long skirt to dress the table.

***All of these items can be purchased at target, and for the stuffing, I used my daughter's old homework that I just crumpled up and stuffing from a whole bunch of her stuffed toys (with her permission of course!). I found that "Build A Bear" stuffing works best, but it is too expensive and you will need A LOT of it. (so I stuck with the old homework for the most part haha!)

Part 1 - Making The Legs

Picture
I made these legs to be worn like a backpack with a harness. This made it very sturdy and secure, easy to maneuver all night and I had my hands completely free the entire time. ​
Picture
To make the legs, you will first need to make a duct tape mold of your (or someone else's) legs. Put on thick stockings or leggings with socks, and a t-shirt or tank top. Make sure these are clothes you do not mind parting with. Begin covering the legs with duct tape. If you are using your own legs, you will need someone to help you cover the back of the butt.
*** It is very important to begin covering your legs from the feet and working your way all the way up past your stomach. I learned this the VERY hard way! If you work from the top down, eventually it will become difficult to breathe and bend to reach taping the toes, and you will not be able to use the bathroom until you're completely finished.

***When making, what I call "duct tape pants, do not tape the top part of the knees. You want the knees to be easily bendable. ​
Picture
Picture
Once your legs are fully covered with duct tape, use a pair of scissors and cut a slit on each side of the leg, going all the way down to your feet, and take your "duct tape pants" off. As you can see I ran out of duct tape and had to improvise.

​Use either soft stuffing or small crumpled pieces of paper to stuff the feet. Make sure the feet are strong as they will be essential to holding the legs up in the contortionist position. ​
Using whatever stuffing you choose or have around, begin stuffing your pants from the bottom up taping up the slits you have cut using more duct tape, while being careful not to alter the shape of the legs.
Picture
Once you have stuffed and taped the bottom parts of the legs, bend the legs at the knees in desired position. Stuff them and add duct tape to keep the position in place. Do this for the rest of the legs, stomach and lower back.
Picture
To begin with I used a hot glue on the bottom of the belt and then reinforced it further with (you guessed it!) more duct tape :) Now the legs are able to be strapped around your waist :) ​
Picture
Picture
Dress the legs, first using a thick stocking which matches the color of your skin, followed by a textured material to take focus away from any possible bumps on the legs. I used fishnet stockings, a pair of sequin shorts, and black socks. 
Picture
Picture
To complete the legs, you will need to glue, or sew straps onto the feet, and loop them through the belt, making it look like you're wearing a belt and suspenders. Very circus like.
Picture
Picture
For the suspenders, I used this ribbon which I bought from Target, and 2 red buttons which I had laying around
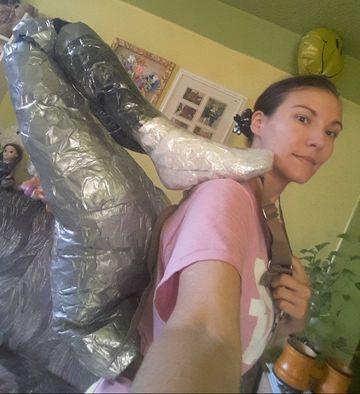
*** The original mold of my legs was too large for the costume and too heavy to carry around all night. I cut off 4 inches from each thigh of the original duct tape mold and sealed them back up. This allowed the feet to touch my shoulders as opposed to going above my head, and the legs looked a lot more comfortable.

Before

Picture

After

Picture

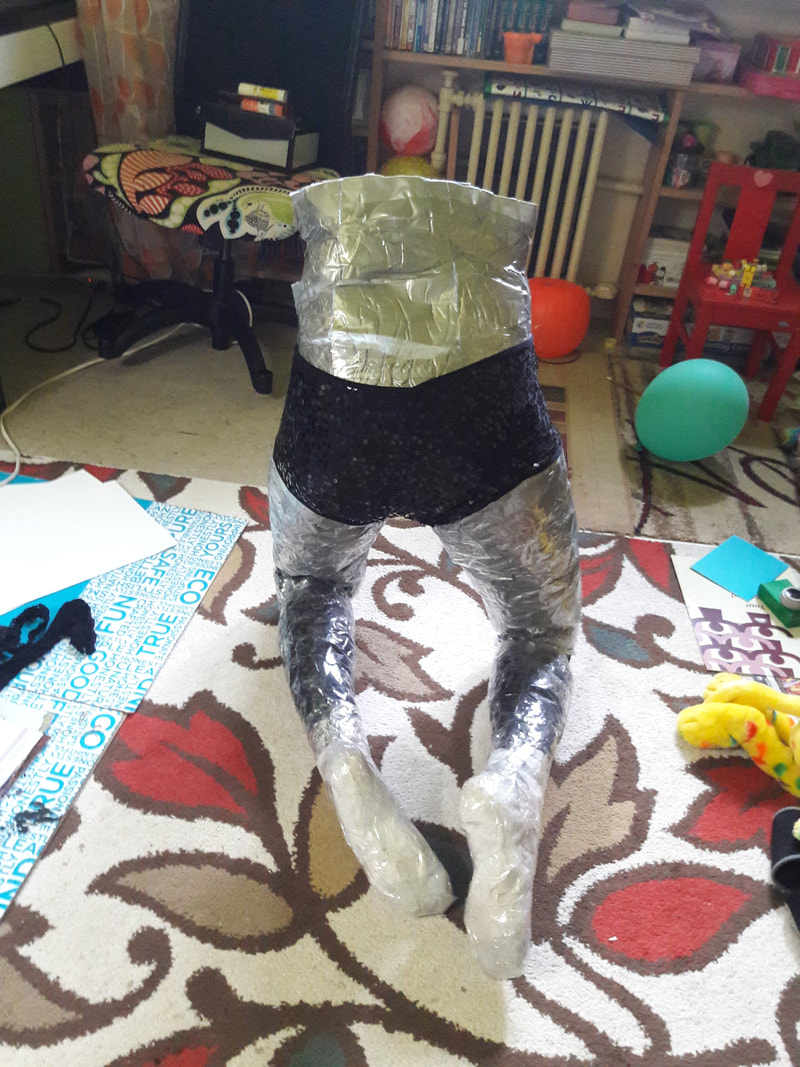
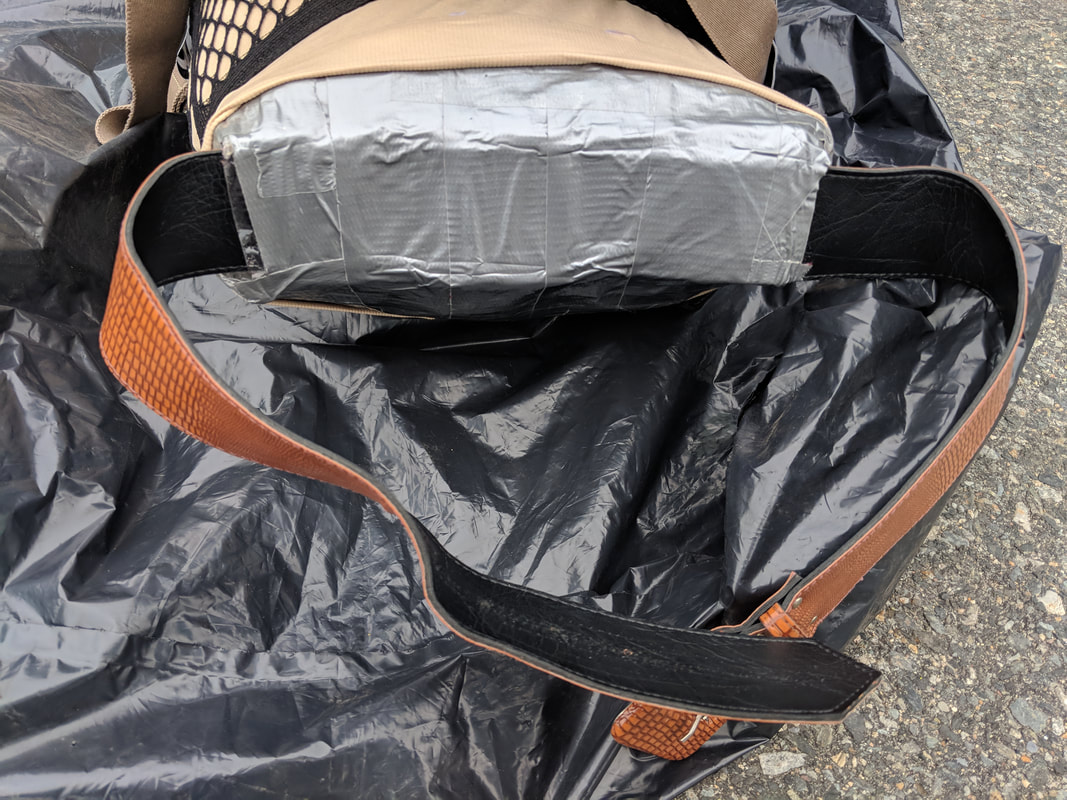
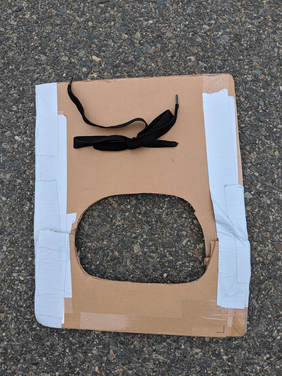
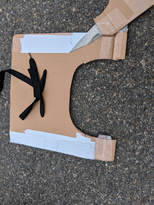
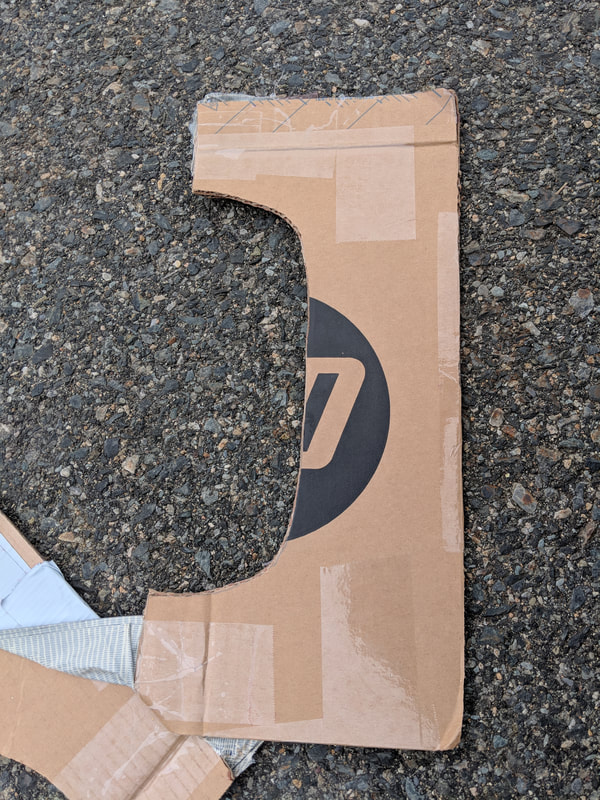
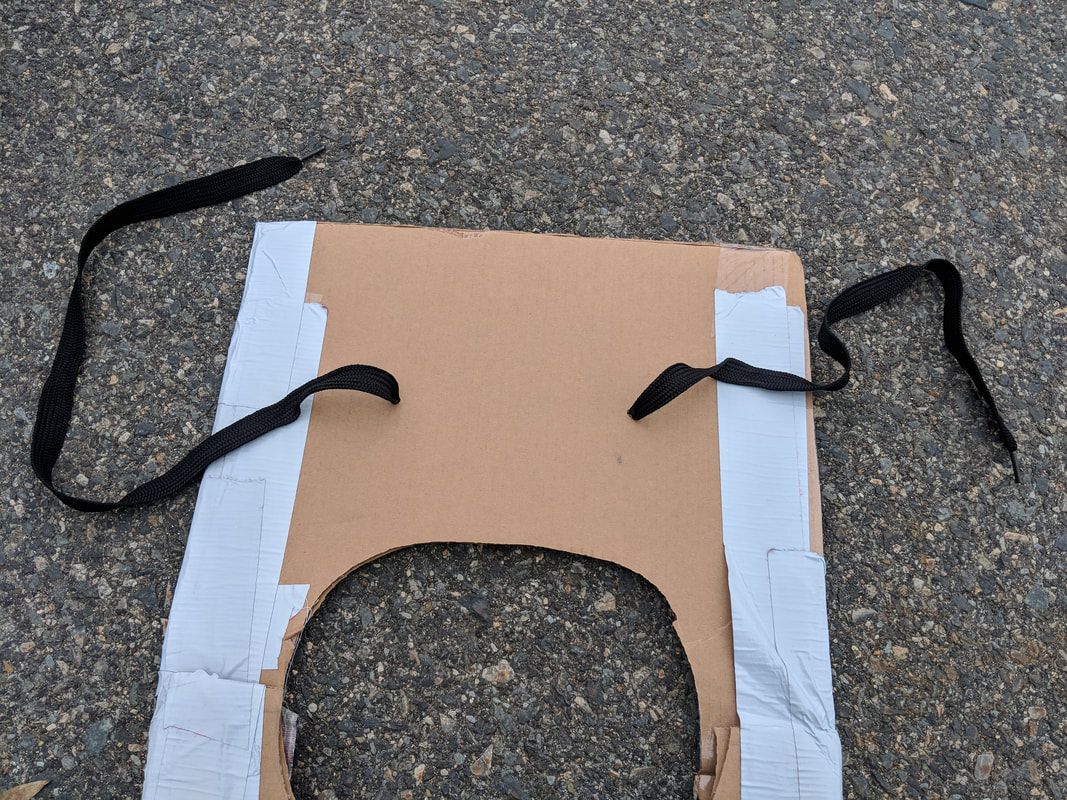
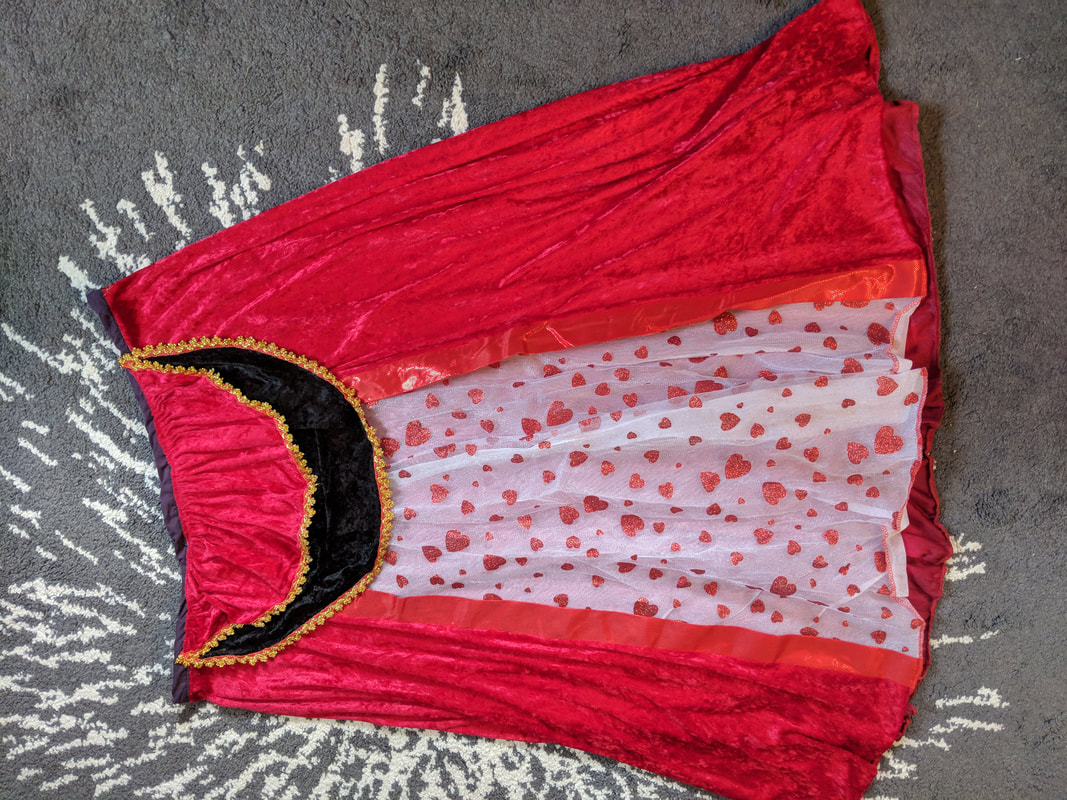
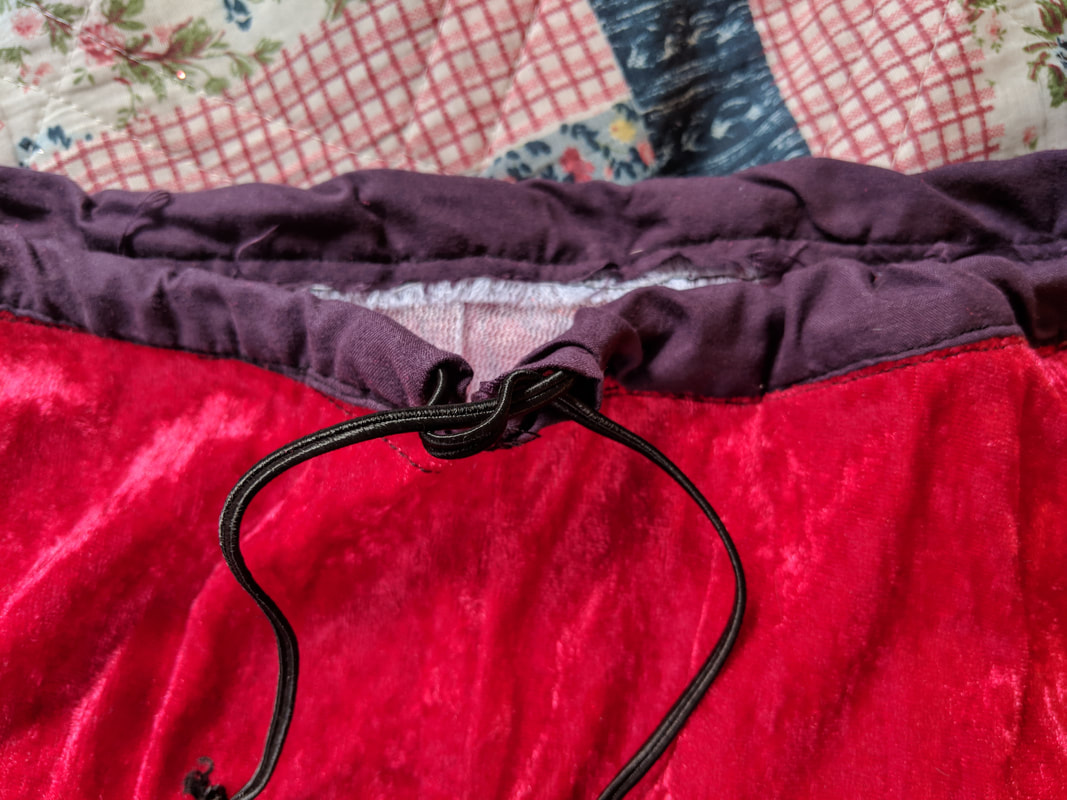
Part 2 - Making the Shirt

Picture
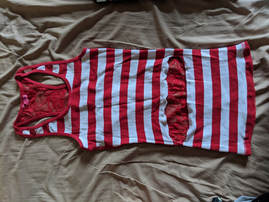
​The shirt is the easiest component to make.
Step 1: choose a shirt to match your outfit. I picked this striped red and white tank top to match the circus theme of the party I was attending.
​Step 2: cut a horizontal slit in front of the shirt, across the stomach.
***When putting the shirt on, you will step your legs through the cut you made and the back flap will be worn on the "lower back" part of the legs you made. This will make the costume appear as if it is continuous with you body. 
Optional Step 3: I hemmed the 2 parts of the cut to avoid the shirt stretching during the evening. To do this, fold about a 1/2 inch of the edges, pin down and sew across. 

Part 3: Making the Table & Tablecloth

Lastly, you will make the table and something to cover your legs. You can go for a round table or a square one like I did. You will make the table in 2 pieces, using cardboard or sturdy foam. When you are ready to wear the costume, you will assemble it directly on yourself using more duct tape.
Picture
You will measure your hip width in order to make a table that is larger than yourself.
Picture
Picture
​I cut a smaller piece for the front and a longer one for the back. This way it looked as if I was sitting upright at the front of the table while my legs took up most of the space behind me. 

Cut a half moon shape on each of the table pieces made. The cuts must be wide enough for you to fit in.

Picture
Once you have your cut outs, you will make 2 small holes on the back piece and run a string of some sort through them. I used a shoe lace.
Picture
​This string will be tied around the lower back part of your legs to keep the table and legs attached through out the night. (You don't want it to look like you're floating above the table as opposed to being on top of it)
Picture
Picture
For the table cloth I used an old Queens of Hearts costume I happened to have. I cut off the bottom/skirt part, and simply inserted another shoe string through the middle opening, which I hemmed. This allowed the table skirt to be wide enough to be put over the table, and then tighten it all the way around your waist with the string and tie. 
*Remember you are putting this on last after you have already attached the table and the legs onto yourself.

**If you do not have a long circus like skirt, you can use a large table cloth of any shape, though round is preferred. Cut a hole in the middle of the cloth, hem, and insert a shoe string. The rest of the directions are the same. If you do not wish to cut a super large hole, you may cut a small one and then cut a straight slit down the middle of the skirt which can then be easily sealed with some added Velcro or fashion tape.
I hope this tutorial helped and inspired you to make your own fabulous contortionist costume! If you have any questions or comments, or something is unclear, definitely let me know in the comment section below.

Happy Halloween everyone!
2 Comments

    Author

    Anna Alexandra Lerer.

    Archives

    February 2020
    December 2019
    January 2019
    December 2018
    October 2018
    July 2018
    June 2018
    April 2018

    Categories

    All Lifestyle Self Care

    RSS Feed

Powered by Create your own unique website with customizable templates.